You’ve probably got a bunch of empty plastic bottles lying around, right?
Instead of tossing them in the trash (or even the recycling bin), why not turn them into something useful, beautiful, and eco-friendly?
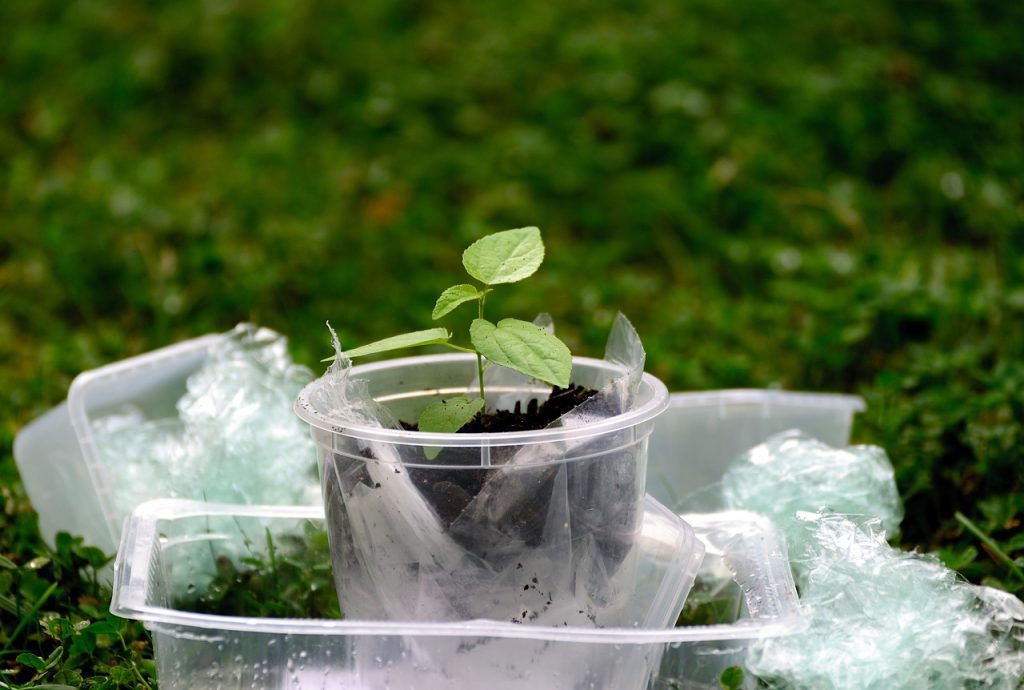
DIY planters from plastic bottles are not only a fun and creative project, but they also help reduce plastic waste.
In this guide, I’ll take you through everything you need to know.
You’ll learn:
- Why plastic bottle planters are great for the environment.
- Step-by-step instructions for different types of DIY planters.
- How to make self-watering bottle planters for easy plant care.
- How to create hanging planters from plastic bottles.
- Fun and creative ways to make cute plastic bottle planters.
- Best plants to grow in plastic bottle pots.
- Maintenance tips to keep your planters healthy and long-lasting.
So grab some plastic bottles, a pair of scissors, and let’s get started!
Why Use Plastic Bottles for DIY Planters?
1. Reducing Plastic Waste:
Every year, billions of plastic bottles end up in landfills and oceans.
Repurposing them into planters is one way to give them a second life instead of adding to environmental pollution.
2. Cost-Effective Gardening:
Who says gardening has to be expensive?
DIY plant pots from plastic bottles save you money while allowing you to create custom containers that suit your space and style.
3. Versatile and Customizable:
From self-watering planters to hanging plastic bottle planters, the possibilities are endless.
You can paint them, cut them into fun shapes, or stack them to create a vertical garden.
What Do You Need to Make DIY Plastic Bottle Planters?
Before we dive into specific projects, let’s go over the essential materials:
Basic Supplies:
- Plastic bottles (any size)
- Scissors or a craft knife
- Marker or pen for marking cuts
- Nail or drill for drainage holes
- Paints and brushes (optional for decoration)
- Twine or rope (for hanging planters)
- Potting soil
- Small rocks or gravel (for drainage)
- Plants or seeds of your choice
Step-by-Step DIY Plastic Bottle Planters
1. Simple DIY Plastic Bottle Planter
This is the easiest way to turn an empty bottle into a plant pot.
Instructions:
- Choose Your Bottle: Any plastic bottle will work, but 1- to 2-liter bottles are ideal.
- Cut the Bottle: Use scissors to cut the bottle in half. The bottom half will be your planter.
- Make Drainage Holes: Use a nail or drill to poke small holes at the bottom for excess water to drain.
- Add Gravel: Place small stones or pebbles at the bottom to improve drainage.
- Fill with Soil: Add potting soil and plant your seeds or seedlings.
- Decorate (Optional): Paint your planter or wrap it in fabric for a stylish look.
✅ Best Plants for This Planter: Herbs, succulents, small flowers.
2. How to Make Self-Watering Planters from Plastic Bottles
A DIY plastic bottle self-watering planter is perfect if you tend to forget to water your plants!
Instructions:
- Cut the Bottle: Cut a 1-liter or 2-liter plastic bottle in half.
- Create a Wick: Take a cotton rope or strip of fabric and insert it into the bottle cap.
- Fill the Bottom Half with Water: This will act as a reservoir.
- Place the Top Half Upside Down: Fit the top half of the bottle (with the wick) inside the bottom half.
- Add Soil and Plant: The wick will draw water from the reservoir, keeping the soil moist.
✅ Best Plants for This Planter: Basil, mint, small vegetables like cherry tomatoes.
3. DIY Hanging Planters from Plastic Bottles
Hanging planters with plastic bottles are great for saving space, especially if you have a small balcony or garden.
Instructions:
- Choose a Bottle: Use a 1-liter bottle for small plants or a 2-liter bottle for larger ones.
- Cut an Opening: Instead of cutting the bottle in half, cut a large rectangular hole on one side.
- Make Holes for Hanging: Use a hole punch or drill to make two holes near the top.
- Insert Rope: Thread a rope or twine through the holes and tie knots to secure.
- Fill with Soil and Plants: Add soil and plant flowers or trailing plants.
✅ Best Plants for Hanging Planters: Ferns, trailing ivy, strawberries.
4. Easy Plastic Bottle Animal Planters
Want something fun and cute? Try making animal-shaped flower pots from plastic bottles!
Instructions:
- Pick an Animal Design: Cat, owl, panda – anything you like!
- Cut the Bottle into Shape: For example, to make a cat planter, cut two ear shapes on the top.
- Paint the Planter: Use acrylic paint to add eyes, nose, and other details.
- Add Soil and Plant: Place small succulents or flowers inside.
✅ Best Plants for Animal Planters: Small succulents, pet-friendly plants like spider plants.
Best Plants for DIY Plastic Bottle Planters
Not sure what to grow? Here are some great options:
✔️ Herbs: Basil, mint, cilantro, rosemary.
✔️ Vegetables: Lettuce, green onions, cherry tomatoes.
✔️ Flowers: Marigolds, petunias, pansies.
✔️ Indoor Plants: Spider plant, pothos, snake plant.
Tips for Maintaining DIY Plastic Bottle Planters
- Watering: Self-watering planters can help, but always check soil moisture.
- Sunlight: Place your planters in the right light conditions depending on the plant type.
- Drainage: Always poke holes at the bottom to prevent root rot.
- Repainting: If your painted planters fade, repaint them every few months.
Final Thoughts
Now that you know how to make DIY planters from plastic bottles, why not start today?
Whether you create a DIY self-watering bottle garden, cute plastic bottle planters, or hanging planters, you’re not just gardening – you’re helping the planet!
Just start with one and see where it goes!