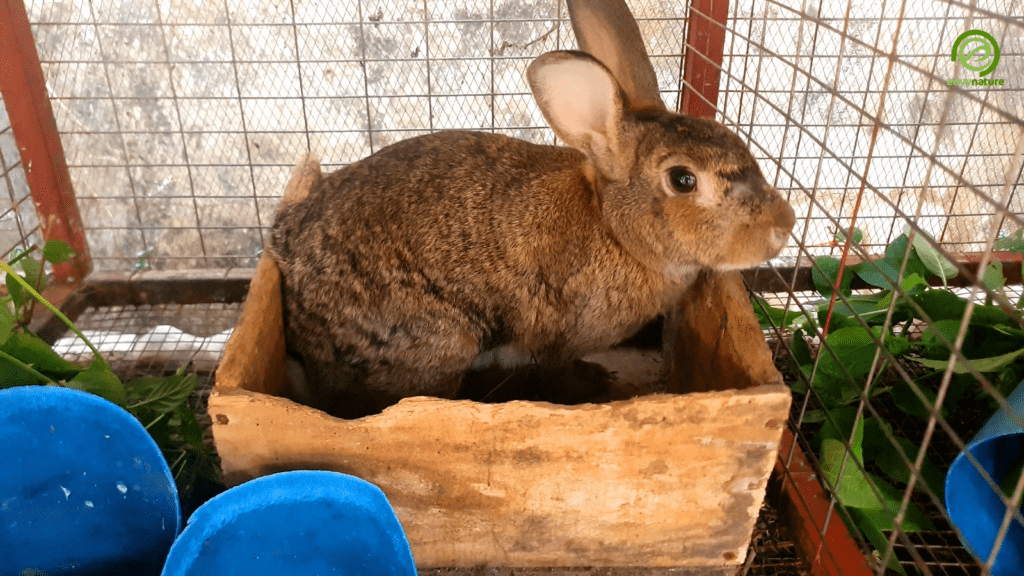
Rabbits are adorable animals that can be kept as pets or for meat. They are easy to take care of and make great additions to any home.
Breeding rabbits can be a rewarding and enjoyable experience for many Keepers. However, it is important to ensure that your rabbits have a safe and comfortable environment for breeding and raising their young.
A homemade wooden Rabbit Nesting Box can provide an excellent solution to this problem, and with a few simple steps, you can easily create one yourself. In this article, I will give a step-by-step guide on how to make a wooden Rabbit Nesting Box for rabbits.
What is a Rabbit Nesting Box?
Rabbits burrow holes in the ground to build their nests in the wild. To give the kittens warmth and protection, they shed their fur and other materials. In order to give them a place to nest for their kittens when you keep them in enclosures, you must supply them with a birthing box.
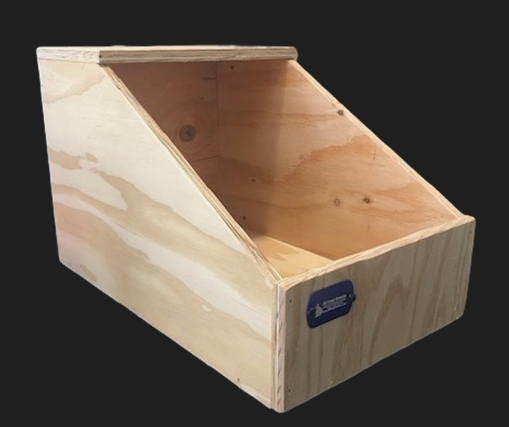
Any box you place in the rabbit cage for the doe to build a nest and give birth in is referred to as a nesting box. They are also called Birthing Box and Breeding Box. The doe will instinctively know why you placed the box in there and will put it to use.
You can buy many kinds of pre-made nesting boxes from pet stores or online. Materials like cardboard boxes, flower vases, and plastic containers could potentially be reused as nesting boxes. You could DIY create your own nesting box similar to the wooden box we are discussing in this post with some basic skills and the necessary tools.
Use a Cardboard box for A Birthing Box, is that advisable?
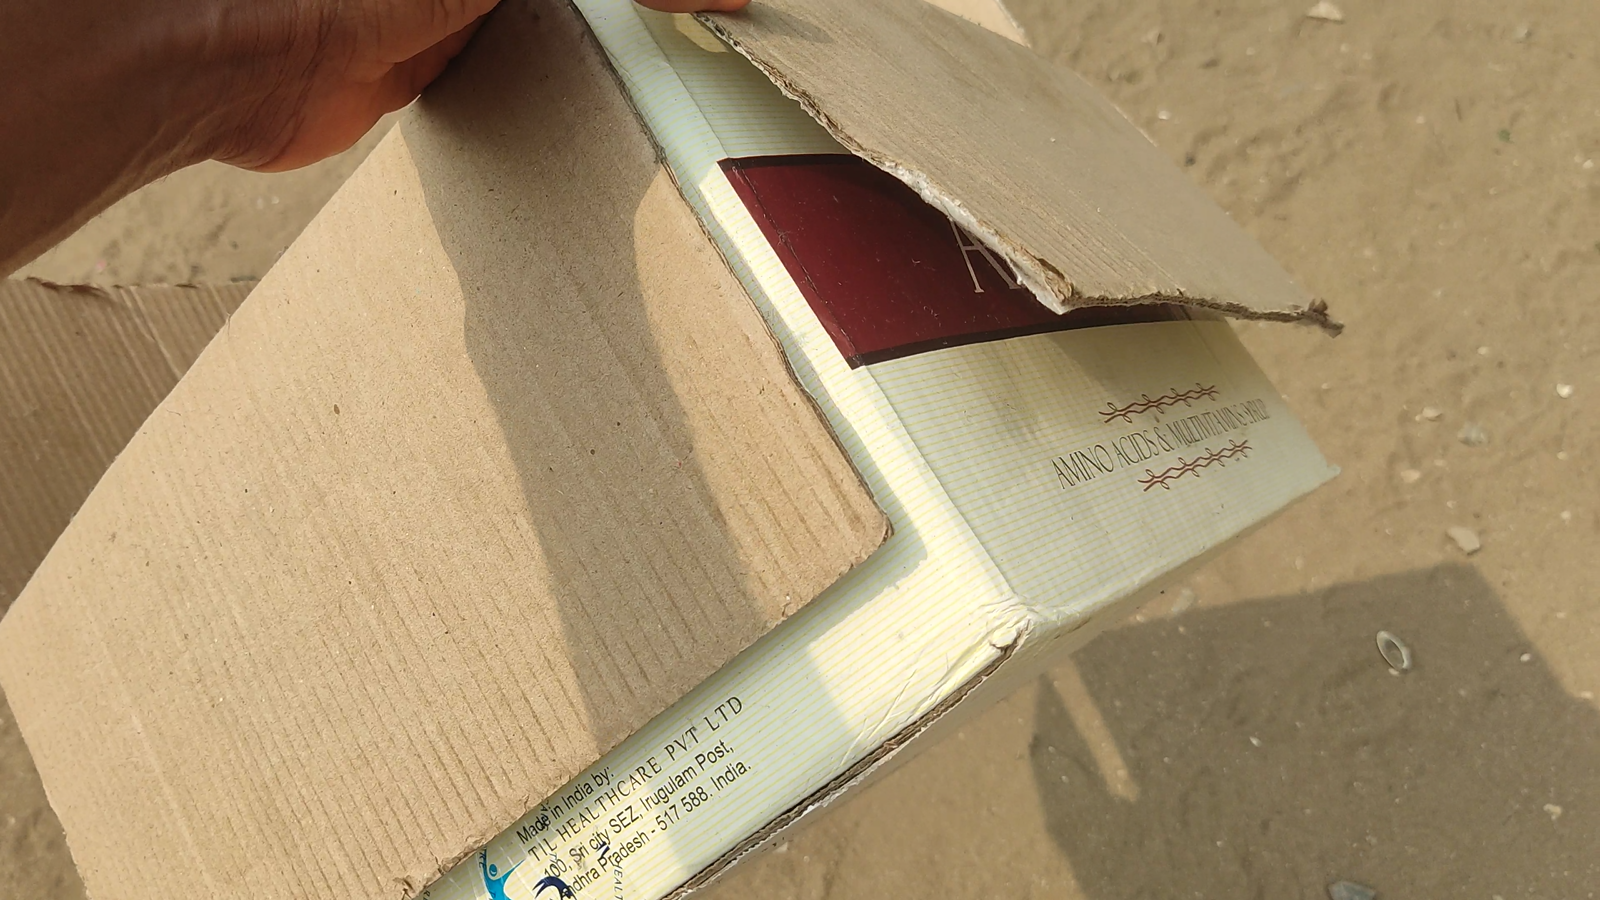
When I started out and had my first rabbit put to birth, I repurposed a cardboard box used as a carton for a product I bought, as a birthing and nesting box. I realized quickly realized that it won’t work very well and is not sustainable.
The Rabbit behaving like Rabbit began chewing the cardboard box and within days I needed to replace it. The constant jumping in and out of the box to feed the babies took a toll on the cardboard box.
Also, finding a box that is big enough for nesting while being small enough to still leave space in the cage for the rabbit feeding trough and rabbit movement, proved challenging.
There are several reasons why a Cardboard box is not suitable as a Nesting Box, so I advise against using it.
Why go for a wooden Rabbit Nesting Box?
While there are other materials that can be used to make a rabbit birthing box, Wood presents a lot of advantages. It is relatively cheap and durable for the purpose.
You may not have to buy new wood, as you can repurpose used wood to make the box. In fact, I just repurposed the wood that I had sitting around rather than purchasing it to make the rabbit boxes. You can also use the wood to create the box yourself if you have the necessary tools and very little experience.
What is the Right Design, Size & Dimension For A Rabbit Nesting Box?
You have the choose a Rabbit Nesting Box design, size, and dimension that will allow the doe and kittens to fit in comfortably while also allowing enough room in the enclosure for the doe to move around freely.
The height should be high enough to prevent the kittens from falling out of the box and getting trampled. So, dimensions will differ from person to person.
After considering the size of my doe and the space available in the enclosure, I choose the dimension 12 inches by 11 inches by 6.4 inches for the length, breadth, and height of the box.
How to Make A Wooden Rabbit Nesting Box
Materials and Tools:
- 5.5-inch by 5.5-inch (breath and Height) wood with a thickness of 0.7 Inches
- Harmer
- Saw
- Nails
- Measuring Tape
Steps Taken:
Step 1: Cut the Wood
Using a saw, I cut out 4 equal pieces of the 5.5-inch by 5.5-inch wood, each measuring 11 inches in length. These will serve as the sides of the breeding box.
Next, cut out 2 equal pieces of the 5.5-inch by 5.5-inch wood, each measuring 12.5 inches in length. These will serve as the bottom of the breeding box.
Step 2: Assemble the Sides
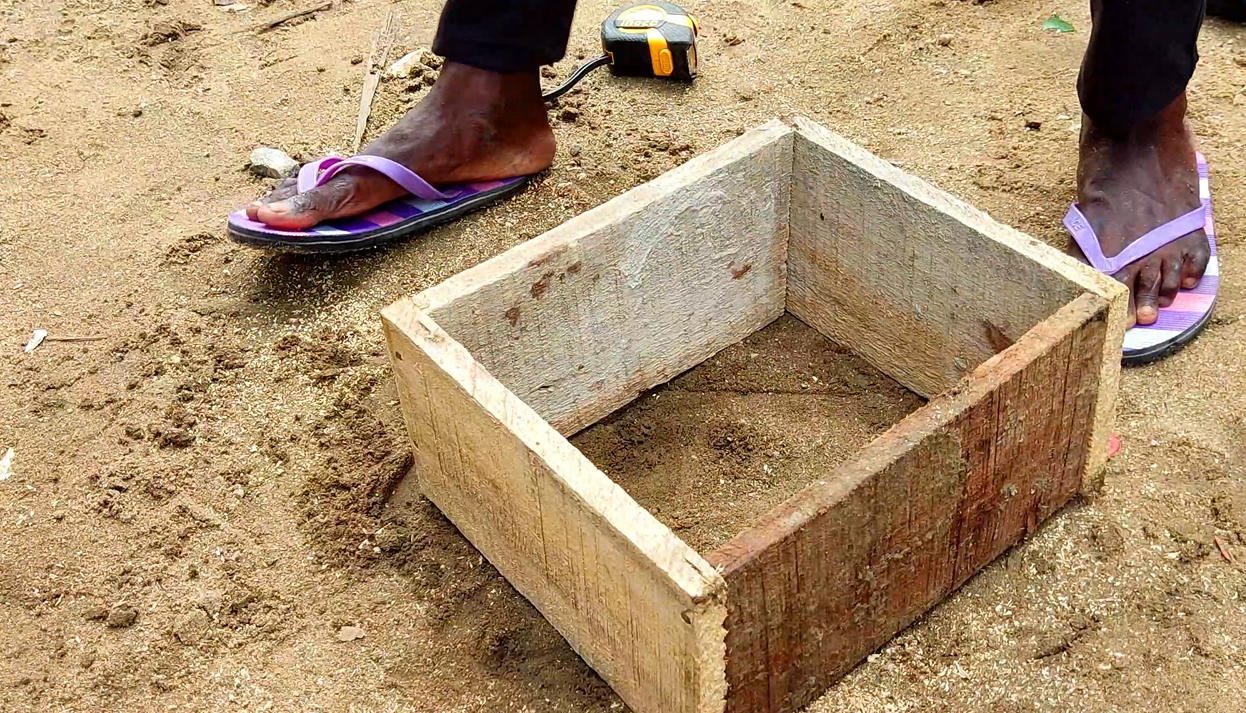
I laid two of the 11 inches pieces of wood on a flat surface, parallel to each other, with their short edges touching.
I then knocked in nails to secure the edges together. I attached the remaining 2 inches to the free edges to form a square frame.
Step 3: Create the Base
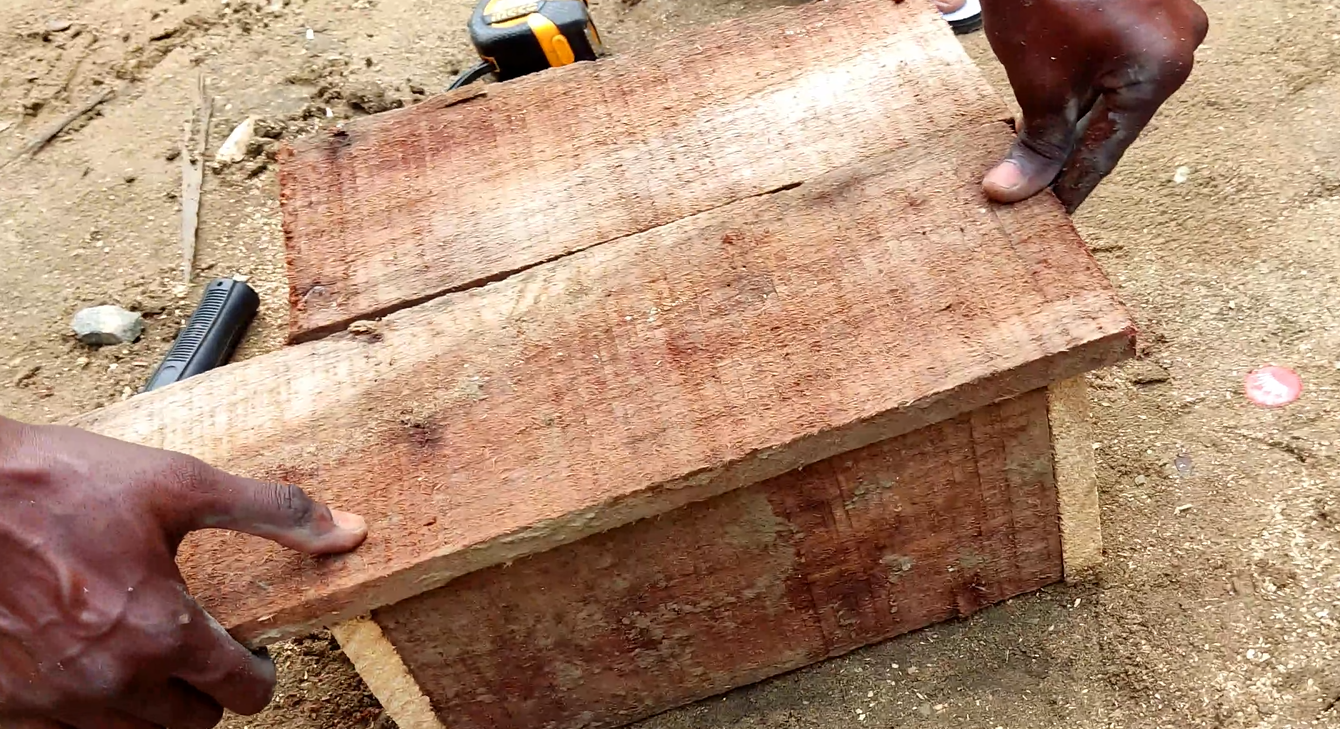
I then nailed the 2 pieces 12.5 inches of wood to the base of the square frame to create the bottom and base for the nesting box.
Your DIY breeding box is now complete and ready for use.
In conclusion, making a wooden nesting box for your rabbit is a simple and easy project that will provide your pet with a comfortable and safe place to sleep and rest. By following these steps, you can create a custom nesting box that will meet your rabbit’s specific needs and provide them with a cozy and secure environment.
Remember to keep the box clean and sanitary, and to monitor your rabbits closely during the breeding process. With a little patience and care, you can successfully breed rabbits.
Check out this youtube video on how the box was made
